
This quick-start guide walks you through creating your first scan workflow (scan flow) in OptimiDoc Server, from naming the workflow to choosing a destination and testing it at a device. A scan workflow is a reusable template that appears as a button on the device panel and controls how a document is captured, processed and delivered.
How Scan Workflows Work
Scan workflows are built in a full-page editor organised into tabs. You do not configure the output location inline — destinations are created separately under Scanning → Destinations and then selected in the workflow, so the same destination can be reused across many workflows. Which tabs and options are available depends on two things:
-
The output format — the PDF and OCR Zones tabs only become active for the relevant formats.
-
Your licence — advanced OCR output formats (the ABBYY family) appear only when your licence includes OCR. Without it, the built-in OptimiDoc OCR formats remain available.
Before You Begin
Ensure you have:
-
At least one device registered and installed with the OptimiDoc terminal application.
-
A destination ready to receive documents (create one under Scanning → Destinations — for example an Email or Folder destination).
-
Users and groups created for the people who will scan.
Step 1: Start a New Workflow
-
Navigate to Scanning → Scan Flows in the left sidebar.
-
Click Add. The full-page scan-flow editor opens.
-
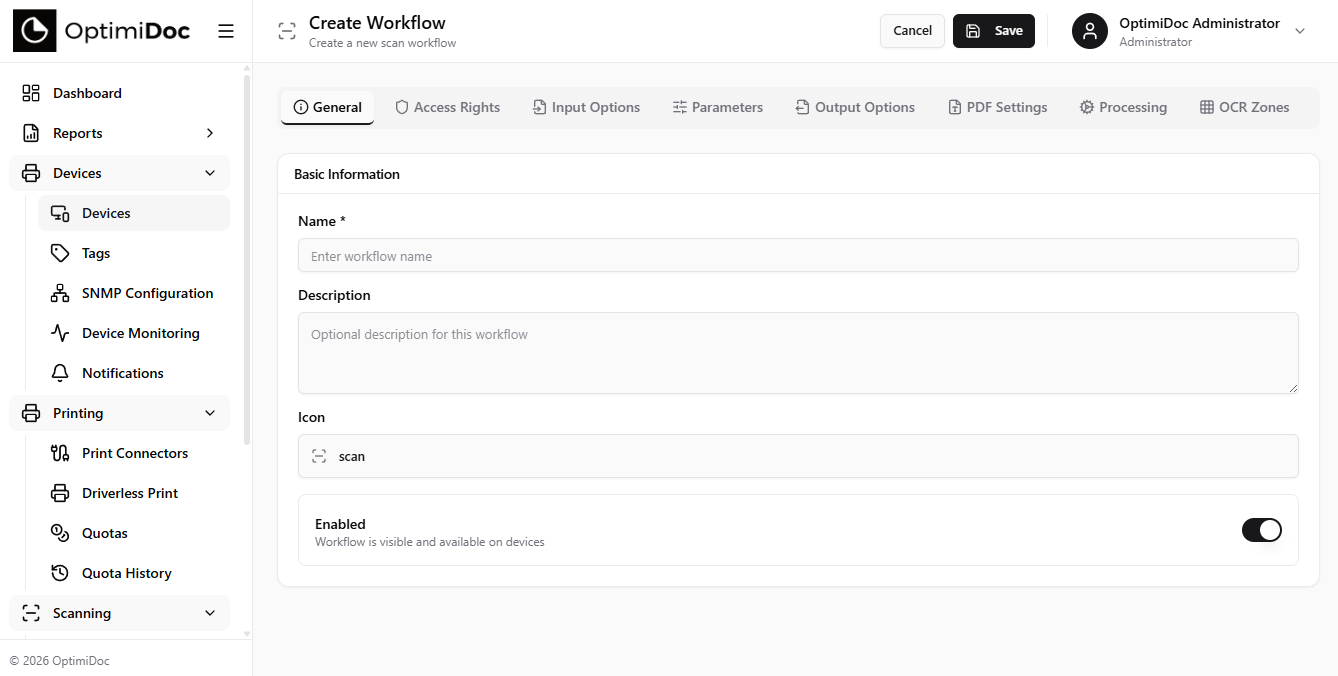
On the General tab, configure:
-
Name — a descriptive name (e.g. Scan to Email — Marketing).
-
Description — optional details about the workflow's purpose.
-
Icon — the icon shown on the device panel (icons have light and dark variants).
-
Enabled — toggle on to make the workflow available.
-
Step 2: Set Access Rights
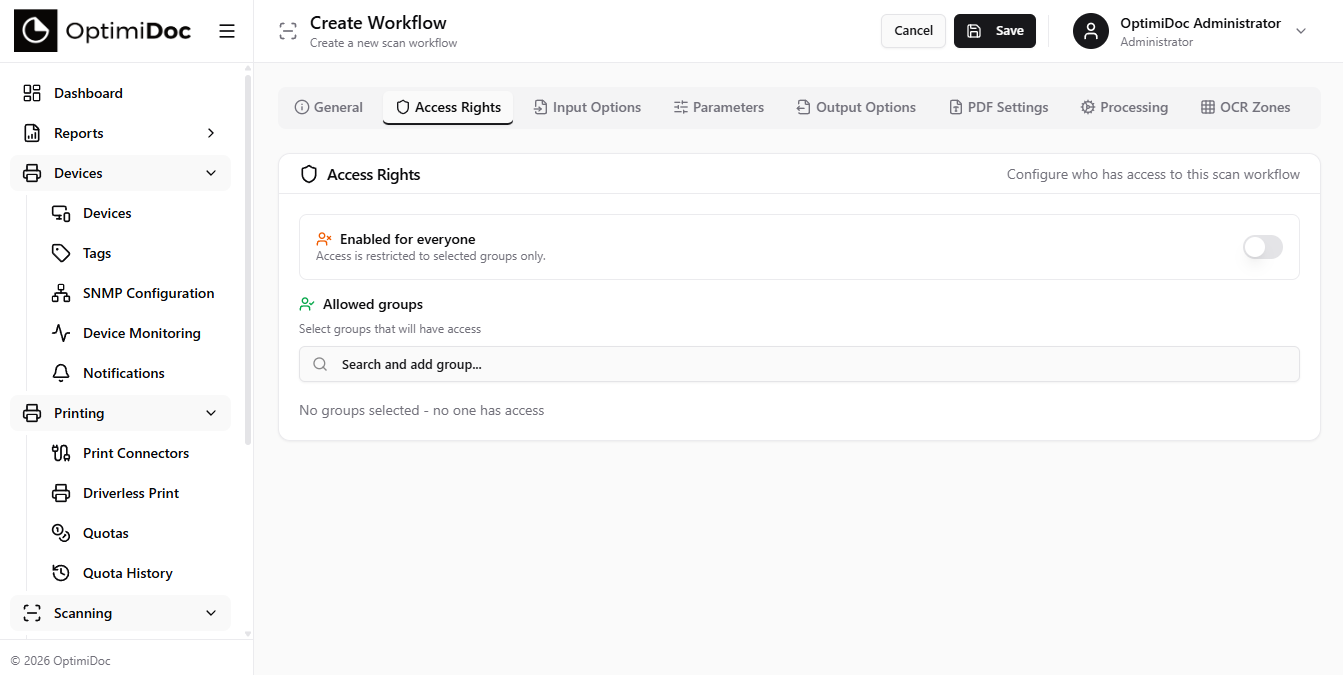
Switch to the Access Rights tab and select the groups allowed to use this workflow. Only members of the chosen groups will see it on the device panel.
Step 3: Configure Input Options
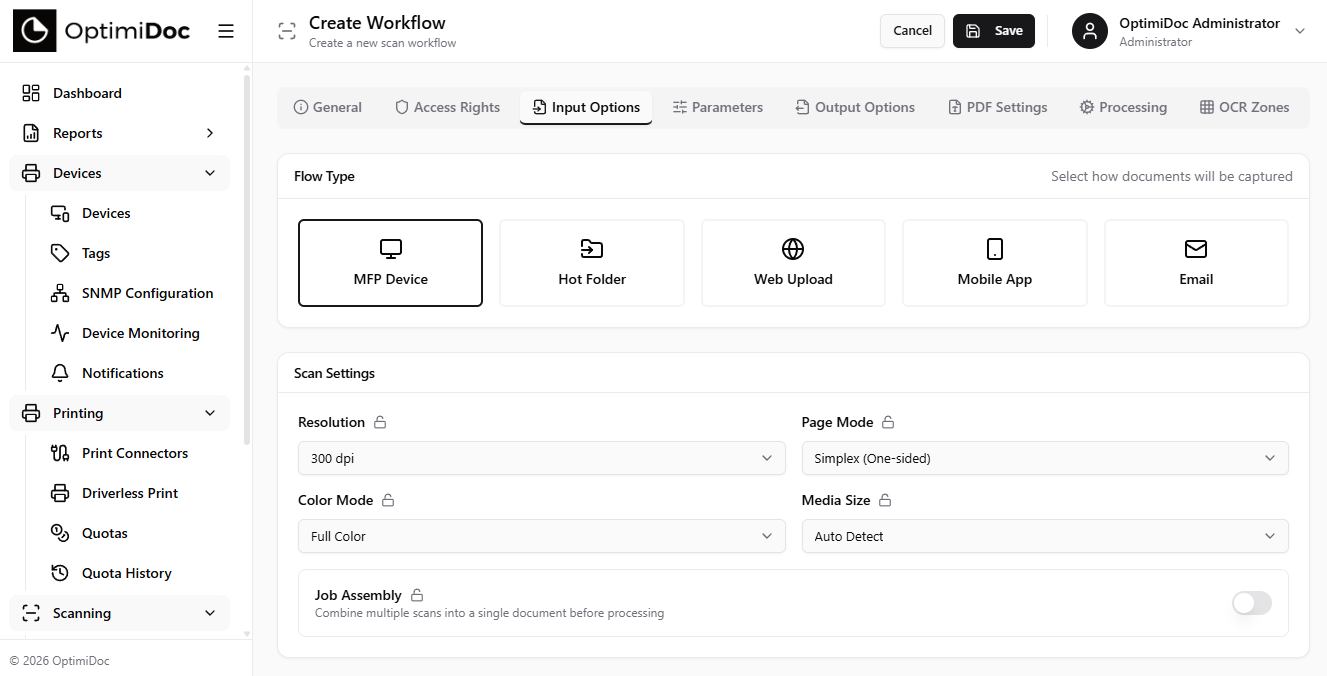
On the Input tab, choose the source and default scan settings:
-
Flow type — where scans originate: MFP (device panel, the usual choice), Hot Folder, Web, Mobile or Email.
-
Resolution (72–600 DPI; 300 is a good default), Colour mode (Full Colour, Greyscale, Black & White or Auto), Page mode (Simplex/Duplex), Media size and Separate scan.
Each of these settings has a lock toggle: lock it to force the workflow's value, or leave it editable so the user can change it on the device panel at scan time.
Step 4: Add Parameters (Optional)
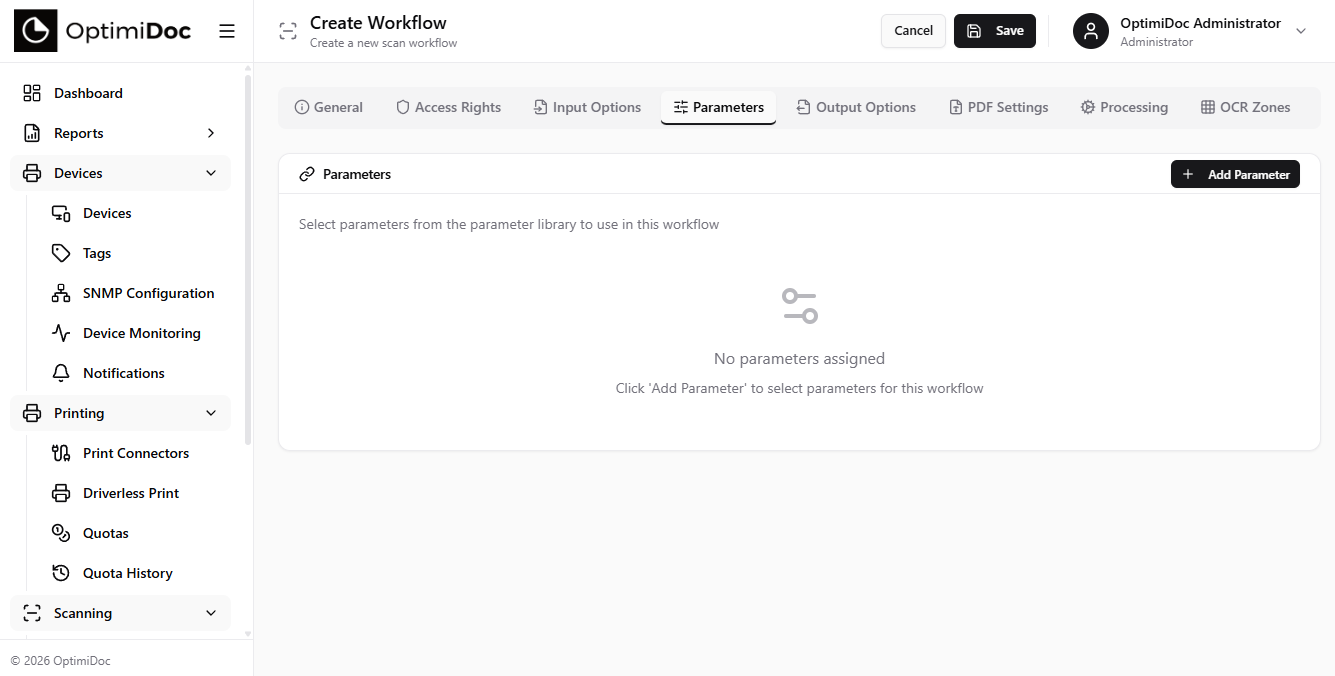
On the Parameters tab you can attach scan parameters — dynamic form fields (text, number, date, list, and more) that prompt the user for input on the device. Parameters are defined once under Scan Parameters and linked here; drag the rows by their handle to set the order in which they appear on the panel.
Step 5: Choose the Output Format and Destination
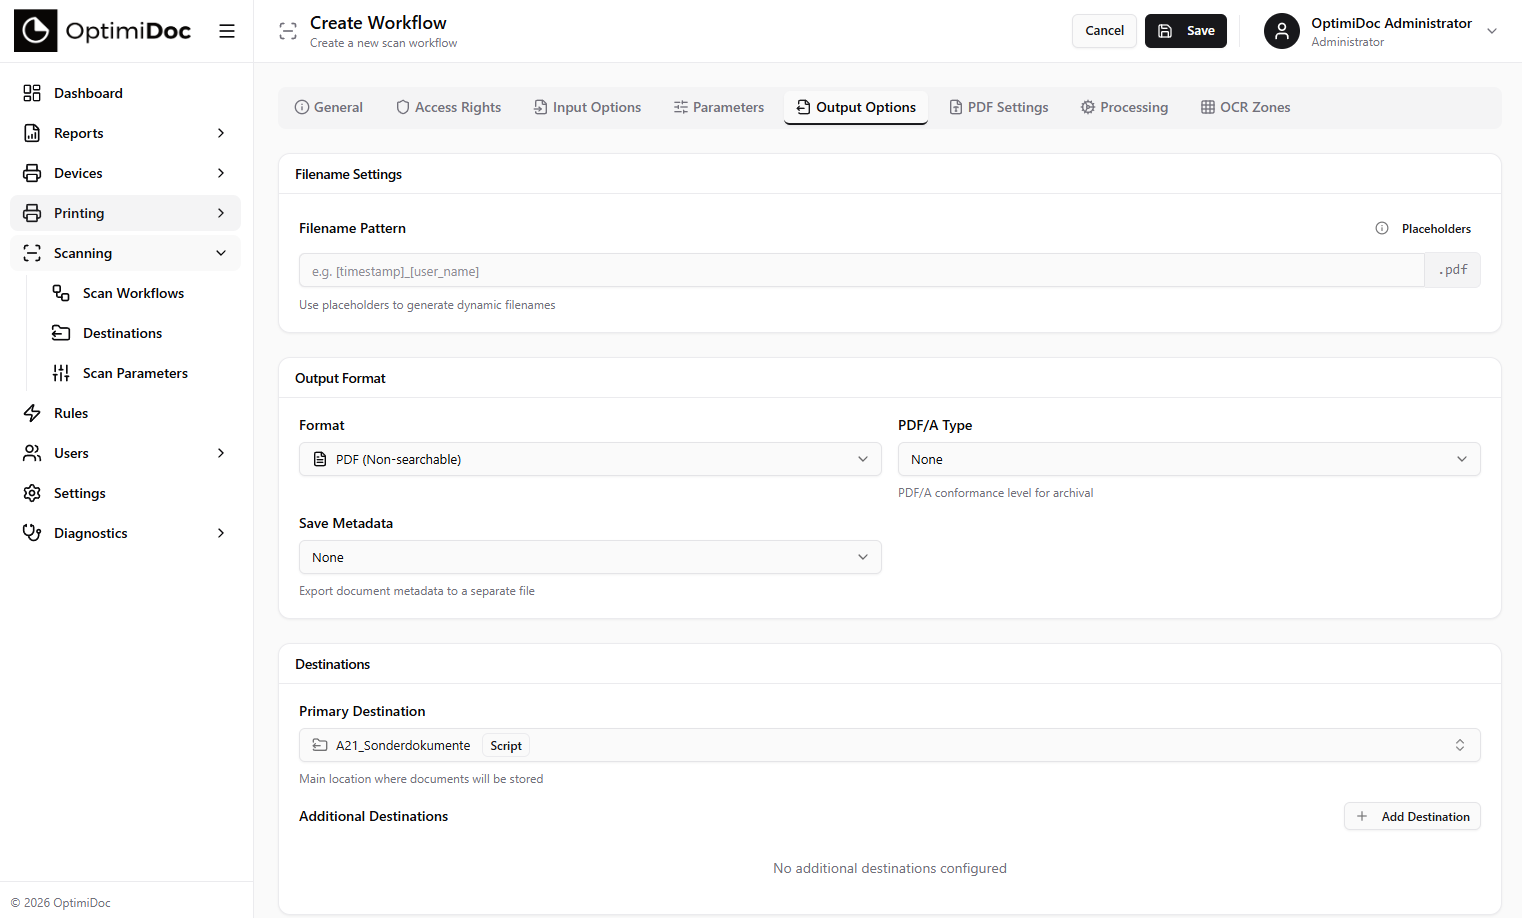
On the Output tab:
-
Set the Filename pattern. Click Placeholders to insert tokens such as timestamp or user name, as well as any parameter values you added.
-
Choose the Format. Formats are grouped into No OCR (PDF, JPEG, TIFF), ABBYY OCR (shown only if your licence includes OCR) and OptimiDoc OCR. For PDF formats you can also set the PDF/A type, and optionally a Save metadata side-car file (JSON, XML or CSV).
-
Select the Primary destination from your existing destinations — this is required to save the workflow.
-
Optionally add Additional destinations. For each, choose whether to save the scan (or a report) and whether to deliver Always or Only on errors.
Step 6: Advanced Tabs (Optional)
Depending on the format you chose, extra tabs become available:
-
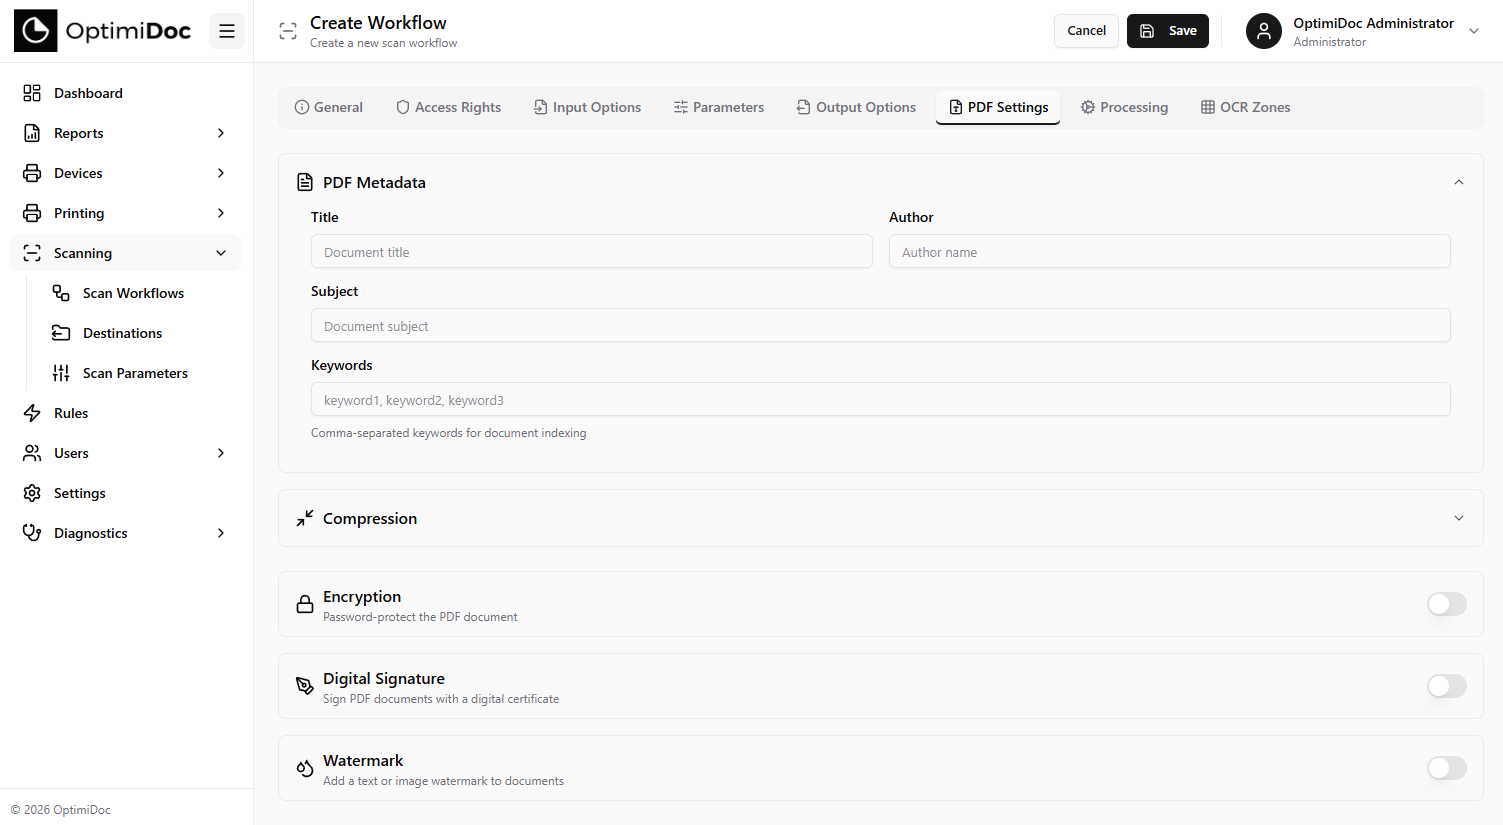
PDF — metadata, compression (including MRC and the PDF reducer), encryption, digital signature and watermark. Active for PDF output formats.
-
Processing — image enhancements, document separation (barcode, blank page, zone, fixed page count) and OCR settings.
-
OCR Zones — define zones for zonal OCR and redaction. Active for OCR output formats.
When you are finished, click Save in the page header.
Step 7: Test the Workflow
-
Go to a device with the OptimiDoc terminal application installed.
-
Authenticate using your ID card, PIN, or login and password.
-
On the panel, locate your new workflow and tap it.
-
Place a document in the feeder or on the glass and press Start.
-
Verify the scanned document arrives at the configured destination.
Next Steps
Once your first scan workflow is working, explore these features:
|
Feature |
Description |
|---|---|
|
Dynamic form fields (text, number, date, list) shown on the device. |
|
|
Text recognition, image enhancement and document separation. |
|
|
PDF/A compliance, compression, passwords, signatures and watermarks. |
|
|
Send scans to one or more locations, including on-error fallbacks. |
In Summary
Create a destination first, then build the workflow in the tabbed editor: name it and set an icon (General), pick who can use it (Access Rights), set capture defaults and decide which are user-editable (Input), optionally prompt for Parameters, then choose the output Format and a required Primary destination — adding secondary destinations if needed. The PDF, Processing and OCR Zones tabs unlock according to your format and licence. Save, then test it at a device.
Related Articles
-
Scan Templates Overview — all workflow configuration tabs
-
Scan Destinations Overview — all destination types
-
Quick Start: Add a Device — register a device for scanning
-
Quick Start: Add Users — create user accounts